

Bracelet styling made simple
What Is the 4-Inch Rule for Bracelet Stacking?
Ever looked down at your bracelets and thought, “Why doesn’t this stack look quite right?” A little attention to spacing and balance can make all the difference.
The 4-inch rule is a handy way to think about how much room your bracelets take up on your wrist and lower arm. I’ll show you what it means, how to style a stack, and when to ignore the measurement altogether.
Get the free visual stacking guide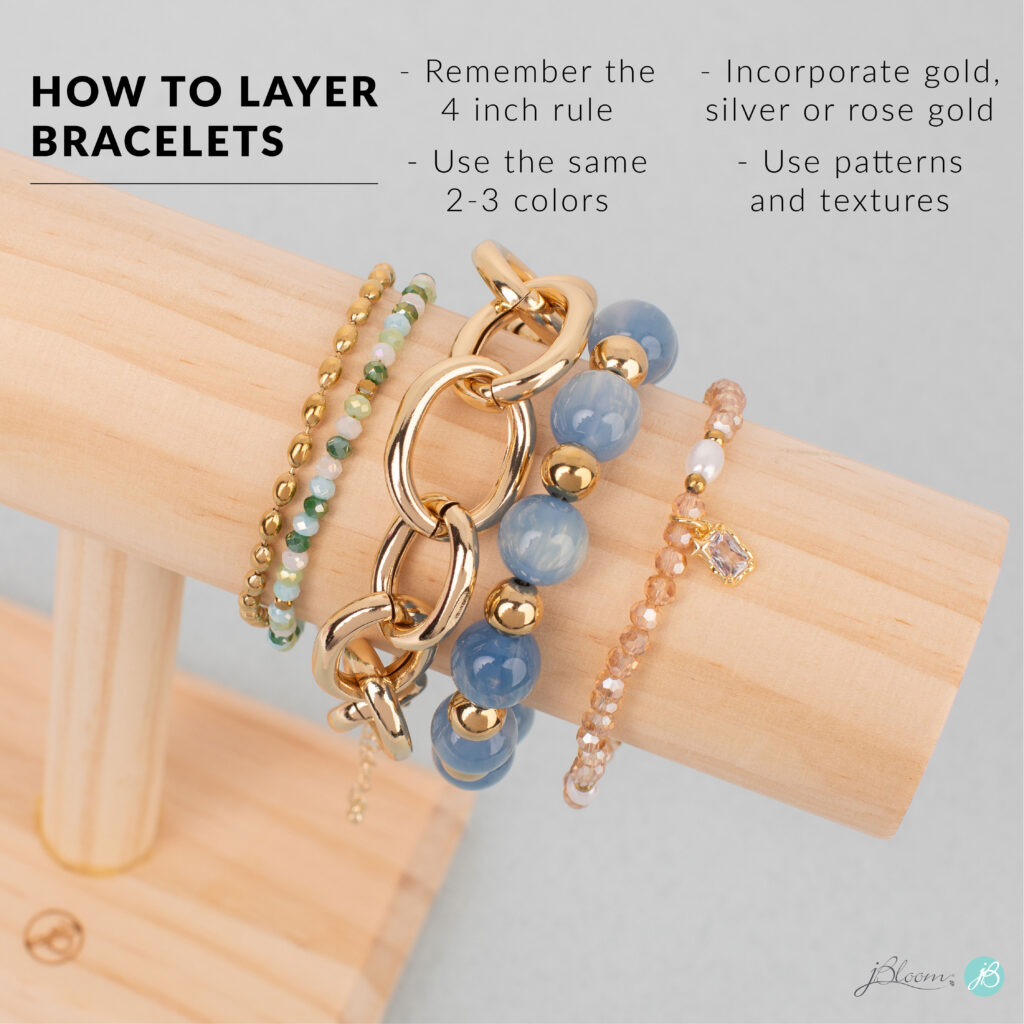
The simple explanation
What does the 4 inches actually measure?
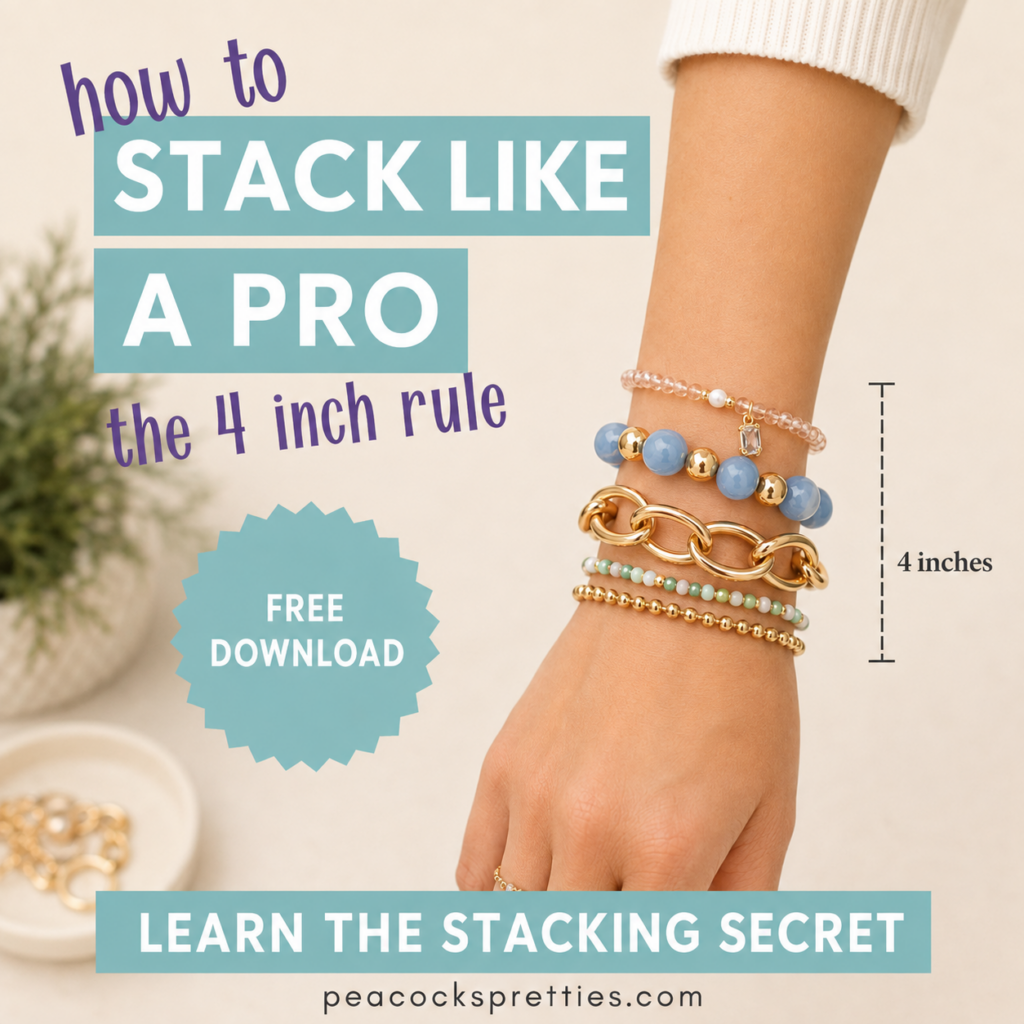
Start at the crease of your wrist and picture a space extending about four inches up your forearm toward your elbow. The idea is to keep your bracelet layers within that general area so the stack feels intentional instead of crowded.
This is not a rule that every wrist needs to follow. On a smaller wrist, two or three slim bracelets might be plenty. On another wrist, a wider cuff with a delicate chain may be just right.
Aunt Audrey’s take: If your bracelets pinch, bunch up, or get in the way, edit the stack. Comfort always wins over a measurement.

Five easy styling tips
How to build a bracelet stack that looks put together
There’s no need to buy a matching set. Try these simple ideas with bracelets you already own.
Vary your widths
Pair a slim chain or bangle with a wider cuff or stretch bracelet. Different widths give your stack shape.
Mix textures
Beads, metal links, leather, and smooth bangles can sit beautifully together. Texture adds interest without needing more color.
Try an odd number
Three or five bracelets can create a pleasing mix, but it’s only a suggestion. Two favorites can be just as lovely.
Choose a color story
Repeat one or two shades or metal tones so the pieces feel connected. Yes, you can mix gold and silver!
Add a personal touch
A birthstone, charm, or meaningful bracelet turns a pretty stack into one that tells your story.
Save this for later
Want a visual reminder of the 4-Inch Rule?
My free Stack Like a Pro printable shows you where to start and how to make the guideline work for your own wrist.
You can save it to your phone or print it out for the next time you’re putting a bracelet stack together.
Send me the free printable guideYou’ll enter your name and email on the signup page, then receive the guide in your inbox.
One more tip: know when to stop
Bracelet stacking isn’t about how many pieces you can fit on your arm. It’s about choosing pieces that work well together and feel good throughout the day.
For a quick everyday look, start with one bracelet you love. Add a slim chain for movement, then a beaded or personalized piece for personality. Stop when it feels like you.
Not sure which bracelets go together? I’m happy to help you style what you already have—or suggest one finishing touch.

Keep reading with Audrey
Like simple style ideas like this?
Join me for wearable jewelry finds, practical styling lessons, and ideas that make getting dressed a little easier. No pressure—just useful advice and something pretty now and then.
Life is complicated enough—your jewelry doesn’t have to be.
— Audrey · Peacock’s Pretties